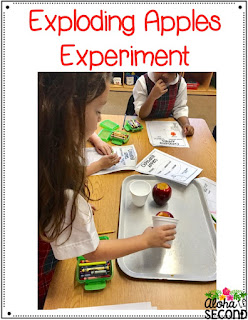
This experiment was SO much fun!! It was also so easy to prepare for. All you need are apples, a knife, baking soda, vinegar, and cups. Well, I used the cups so the students could pour in the baking soda and vinegar themselves. They are not absolutely necessary. :] I also used trays to place the apples on because it can get kind of messy.
Once you have all the materials, cut the top of the apple out. I started at the stem and cut a hole in the middle of the apple. It doesn't have to be very deep. I cut it about half way. This allows you to pour the vinegar and baking soda in the apple.
First, students poured baking soda in one of the apples, and vinegar in the other apple. We recorded our observations. We also made a hypothesis before stating whether we thought it would explode more if the vinegar was poured first, then the baking soda OR the baking soda, then the vinegar.
Students, then poured the baking soda on top of the one with vinegar. They watched it erupt! Once they recorded their observations, the students poured the vinegar on top of the one with baking soda. This was a great way to see which one exploded more. You should have heard my kids giggling and screaming during this experiment. (I may have screamed a little too. :] )
Here are the pages my students completed to help us follow the scientific method. We colored the arrow for our hypothesis, and we drew our observations.
Then, we recorded the results and determined whether our hypothesis was correct or not.
Finally, we drew (or you can write) what you learned as a scientist during the experiment.
You can find this product by clicking on the image below. It is only $1! :]
If you enjoyed this or would like an idea of what this product is like, visit here to learn about our Apple Exposure experiment and grab that one for FREE here. :]


No comments:
Post a Comment